Looking for a delicious and healthy beverage to enjoy at home? Why not try brewing your own homemade kombucha! With our easy kombucha recipe, you can create a refreshing probiotic drink that’s tailor-made to your taste. Whether you want to make a 1-litre batch or go big with 3 litres, we’ve got you covered.
Making kombucha at home is not only fun but also a great way to take control of what goes into your drink. No more wondering about mysterious ingredients or added sugars. Plus, the process is surprisingly simple, and you’ll only need a few key ingredients to get started.
So, let’s dive in and discover the joy of brewing your own homemade kombucha. With our step-by-step guide and helpful tips, you’ll be sipping on your very own creation in no time.
Before we start brewing, let’s learn more about the wonders of kombucha and why it’s worth making at home. Stay tuned!
What is Kombucha and Why Should You Make It at Home?
Kombucha is a fermented tea that is filled with probiotics, enzymes, and B-vitamins. It is known for its health benefits, including improved digestion and a boosted immune system. Making your own kombucha at home allows you to control the ingredients and flavors, ensuring a healthy and delicious drink. In this step-by-step kombucha guide, we will walk you through the process of brewing your own kombucha at home.
Making your own kombucha at home has several advantages. Firstly, it gives you complete control over the ingredients that go into your brew. You can choose high-quality tea, organic sugar, and filtered water, ensuring a healthier end product. Additionally, you can experiment with different flavors and create unique combinations that suit your taste preferences. Lastly, brewing kombucha at home is a cost-effective alternative to buying it from the store, saving you money in the long run.
By following our step-by-step kombucha guide, you will gain the knowledge and confidence to become a master kombucha brewer. Not only will you have a continuous supply of this refreshing beverage, but you will also have the satisfaction of knowing exactly what’s in your drink and the joy of creating something delicious from scratch. So let’s dive in and learn how to make your own homemade kombucha!
The Health Benefits of Kombucha
Kombucha is often referred to as the “immortal health elixir” due to its numerous health benefits. Here are some of the key benefits:
- Promotes gut health: Kombucha contains probiotics that can help restore the balance of gut bacteria and improve digestion.
- Boosts the immune system: The probiotics and antioxidants in kombucha can strengthen the immune system, helping to ward off illnesses.
- Detoxifies the body: Kombucha is believed to have detoxifying properties, aiding in the elimination of toxins from the body.
- Supports joint health: Kombucha contains glucosamines, which are known to support joint health and reduce inflammation.
- Provides energy: The B-vitamins in kombucha can help boost energy levels and improve mood.
With all these amazing benefits, it’s no wonder kombucha has gained popularity as a health beverage. And the best part is, you can experience these benefits firsthand by brewing your own homemade kombucha.
What You Need to Make Homemade Kombucha?
To make homemade kombucha, you will need a few key ingredients and supplies. First, you will need a SCOBY (Symbiotic Culture of Bacteria and Yeast), which is the live culture that ferments the tea. You can either get a SCOBY from a friend or purchase one online. In addition to the SCOBY, you will also need tea bags or loose leaf tea, sugar, water, and a jar or glass container to ferment the kombucha. Once you have gathered all the necessary ingredients, you are ready to start brewing your own kombucha at home.
The Brewing Process: Step-by-Step Instructions
Brewing kombucha at home is a straightforward process that involves a few key steps. To make your own homemade kombucha, follow these step-by-step instructions:
Step 1: Brew the Sweet Tea
Begin by brewing a pot of sweet tea using either tea bags or loose leaf tea, sugar, and water. Steep the tea according to the package instructions. Make sure to use filtered water and avoid using tea that contains oils or flavors, as they can harm the SCOBY (Symbiotic Culture of Bacteria and Yeast).
Step 2: Cool the Sweet Tea
After brewing the sweet tea, allow it to cool completely. It is essential that the tea is at room temperature before adding the SCOBY, as high temperatures can kill the beneficial bacteria.
Step 3: Add the SCOBY and Starter Liquid
Once the sweet tea has cooled, transfer it to a clean jar or glass container. Gently place the SCOBY on top of the tea, along with some starter liquid from a previous batch or store-bought kombucha. The starter liquid helps to lower the pH of the tea and prevents the growth of harmful bacteria.
Step 4: Cover and Ferment
Cover the jar with a breathable cloth, such as muslin or cheesecloth, and secure it with a rubber band. This allows air to flow in and out of the jar while keeping potential contaminants out. Place the jar in a warm and dark spot, away from direct sunlight. Let the kombucha ferment at room temperature for about 7 to 10 days. The fermentation time may vary depending on the desired taste and the temperature of your home.
Step 5: Check for Fermentation
After a few days, you may notice a new SCOBY forming on the surface of the tea. This is a sign that fermentation is occurring. You can also gently taste the kombucha using a clean spoon to check for the desired level of tartness. If it tastes too sweet, let it ferment for a few more days. If it tastes too sour, it may have fermented for too long.
Step 6: Bottle and Store
Once the kombucha has reached your desired level of tartness, carefully remove the SCOBY and a portion of the liquid to use as a starter for your next batch. Pour the remaining kombucha into sealable bottles, leaving a little space at the top for carbonation. You can add fruit juice or other flavorings at this stage for a second fermentation. Seal the bottles tightly and store them in the refrigerator for 1 to 3 days to allow carbonation to develop.
After refrigeration, your homemade kombucha is ready to be enjoyed! Remember to release any excess carbonation by carefully opening the bottle over a sink before serving.
Flavor Variations: Making Your Kombucha Unique
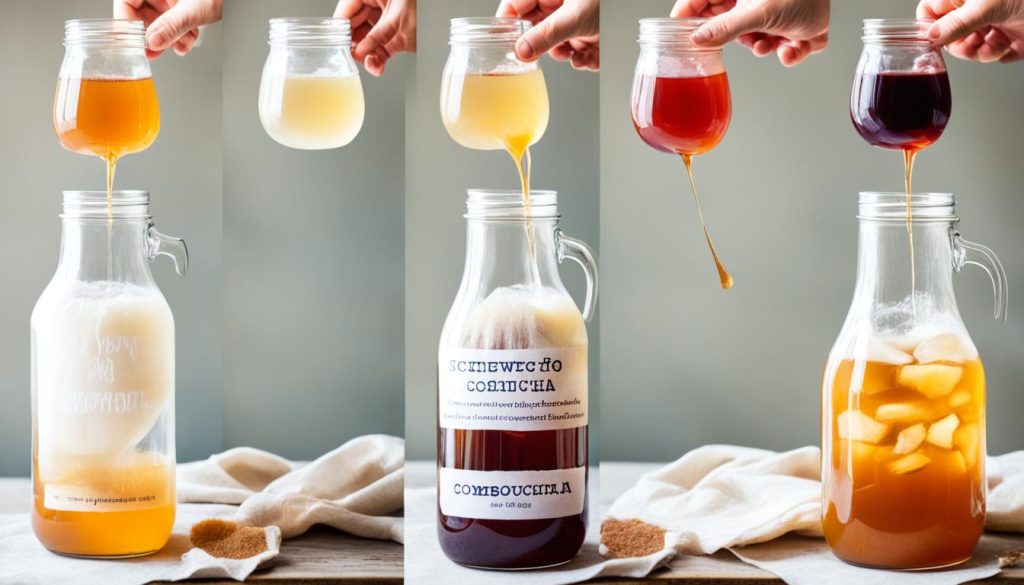
One of the great things about making your own kombucha at home is that you can experiment with different flavors and create unique combinations. After the initial fermentation process, you can add various fruits, herbs, and spices to your bottled kombucha for a second fermentation. Some popular flavor variations include grapefruit and ginger, blueberry, orange and ginger, and many more. The possibilities are endless, so feel free to get creative and find your favorite flavor combination.
If you’re looking to try something new, here are some flavor ideas to inspire you:
- Apple and Cinnamon
- Mango and Mint
- Lemon and Lavender
- Strawberry and Basil
- Watermelon and Rosemary
- Peach and Cardamom
By adding different fruits, herbs, and spices, you can create a kombucha flavor that suits your taste preferences. Whether you like it fruity, herbal, or spicy, there’s a flavor combination out there for everyone.
Don’t be afraid to mix and match different ingredients to create your own unique flavors. You might discover a combination that becomes your new favorite. Just remember to taste your kombucha throughout the second fermentation process to ensure that the flavors are to your liking.
“The great thing about homemade kombucha is that you can customize it to your taste. There’s no right or wrong way to make it. You can experiment with different flavors and find what works best for you.” – Kombucha enthusiast
Once you’ve perfected your flavor combination, you can share your homemade kombucha with friends and family. They’ll be impressed by your creativity and the delicious taste of your unique brew.
Remember, the key to successful flavor variations is to start with a good base kombucha. So make sure to follow our kombucha recipe for brewing the best kombucha at home.
Popular Kombucha Flavor Combinations
| Flavor Combination | Description |
|---|---|
| Grapefruit and Ginger | A tangy and spicy combination with a refreshing citrus kick. |
| Blueberry | A burst of sweet and juicy blueberry flavor. |
| Orange and Ginger | A zesty and warming blend of citrus and spice. |
| Apple and Cinnamon | A comforting and festive combination with a hint of warmth. |
| Strawberry and Basil | A fruity and herbal mix that’s both refreshing and aromatic. |
These are just a few examples of the many flavor variations you can create with your homemade kombucha. The best part is, you can customize the flavors to suit your preferences and experiment with different combinations until you find your perfect brew.
Storing and Enjoying Your Homemade Kombucha
Once you have bottled your homemade kombucha, it’s time to store it and get ready to enjoy the delicious flavors you’ve created. Storing your kombucha properly will help maintain its taste and quality over time. Here are some tips for storing and savoring your homemade kombucha:
- Refrigeration: After bottling your kombucha, place it in the refrigerator to chill. The cool temperature slows down the fermentation process, preserving the flavors and preventing any potential over-fermentation.
- Timeframe: It’s best to consume your homemade kombucha within a few weeks of bottling. Over time, the taste and quality can diminish, so it’s ideal to enjoy it while it’s at its freshest.
- Glass Containers: Store your kombucha in glass containers or bottles with airtight lids. Glass helps maintain the flavor and prevents any unwanted interactions with plastic or metal containers.
- Labeling: It’s a good practice to label your kombucha bottles with the date of bottling. This will help you keep track of the freshness and ensure you consume them in a timely manner.
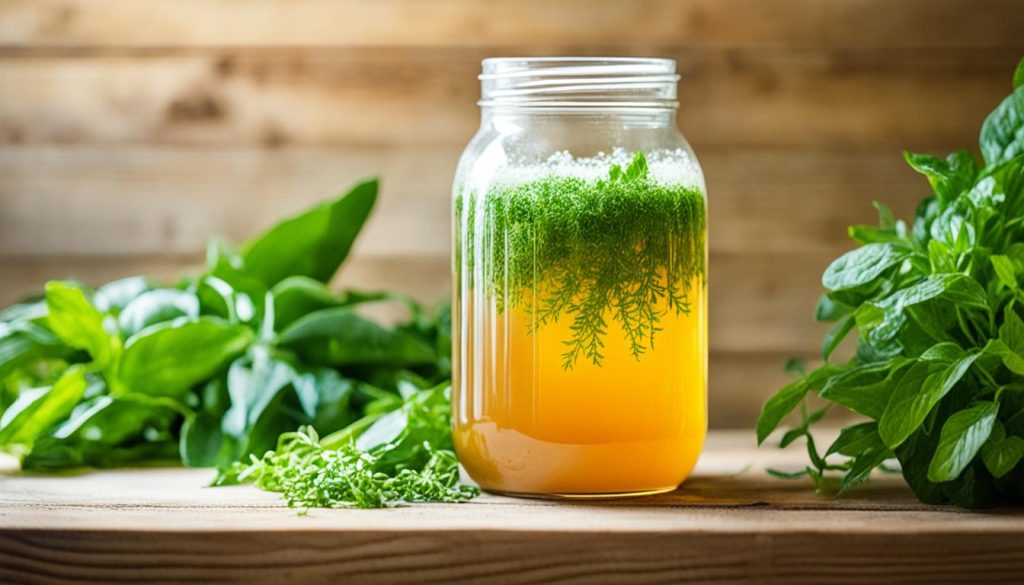
Now that you have stored your homemade kombucha, it’s time to pour yourself a glass, sit back, and enjoy the refreshing and healthful benefits of your brew.
Expert Tip:
Increase the shelf life of your kombucha by adding a bit more sugar to the bottle before refrigeration. The additional sugar will feed the yeast and slow down the fermentation process, helping your kombucha stay fresh for longer.
Conclusion
Brewing your own homemade kombucha is a rewarding process that allows you to create a delicious and healthy beverage right in your own kitchen. With just a few simple ingredients and a little patience, you can craft your own signature flavors and reap the benefits of probiotics and other essential nutrients.
Whether you prefer a small batch or a larger one, our easy kombucha recipe can be easily customized to suit your needs. The flexibility of our recipe means you can effortlessly make 4 liters of homemade kombucha, ensuring you have plenty to enjoy and share with friends and family.
So why not embark on this exciting journey and start brewing your own homemade kombucha today? Enjoy the satisfaction of crafting a beverage that not only tastes fantastic but also supports your overall wellbeing. Cheers to good health and the joy of creating homemade goodness!
FAQ
Why should you make kombucha at home?
Making homemade kombucha allows you to control the ingredients and flavors, ensuring a healthy and delicious drink. Plus, it’s a fun and rewarding process!
What do you need to make homemade kombucha?
To make homemade kombucha, you will need a SCOBY (Symbiotic Culture of Bacteria and Yeast), tea, sugar, water, and a jar or glass container to ferment the kombucha.
Can you customize the flavor of your homemade kombucha?
Absolutely! After the initial fermentation, you can add fruits, herbs, and spices to your bottled kombucha for a second fermentation and create unique flavor combinations.
How do you store and enjoy homemade kombucha?
Once bottled, store the kombucha in the refrigerator to chill. It’s best to consume it within a few weeks. Simply pour it into a glass and savor the delicious flavors and health benefits!
Is it possible to make a larger batch of homemade kombucha?
Yes, you can scale up the recipe to make a larger batch of kombucha. Just follow the proportions and instructions accordingly.


