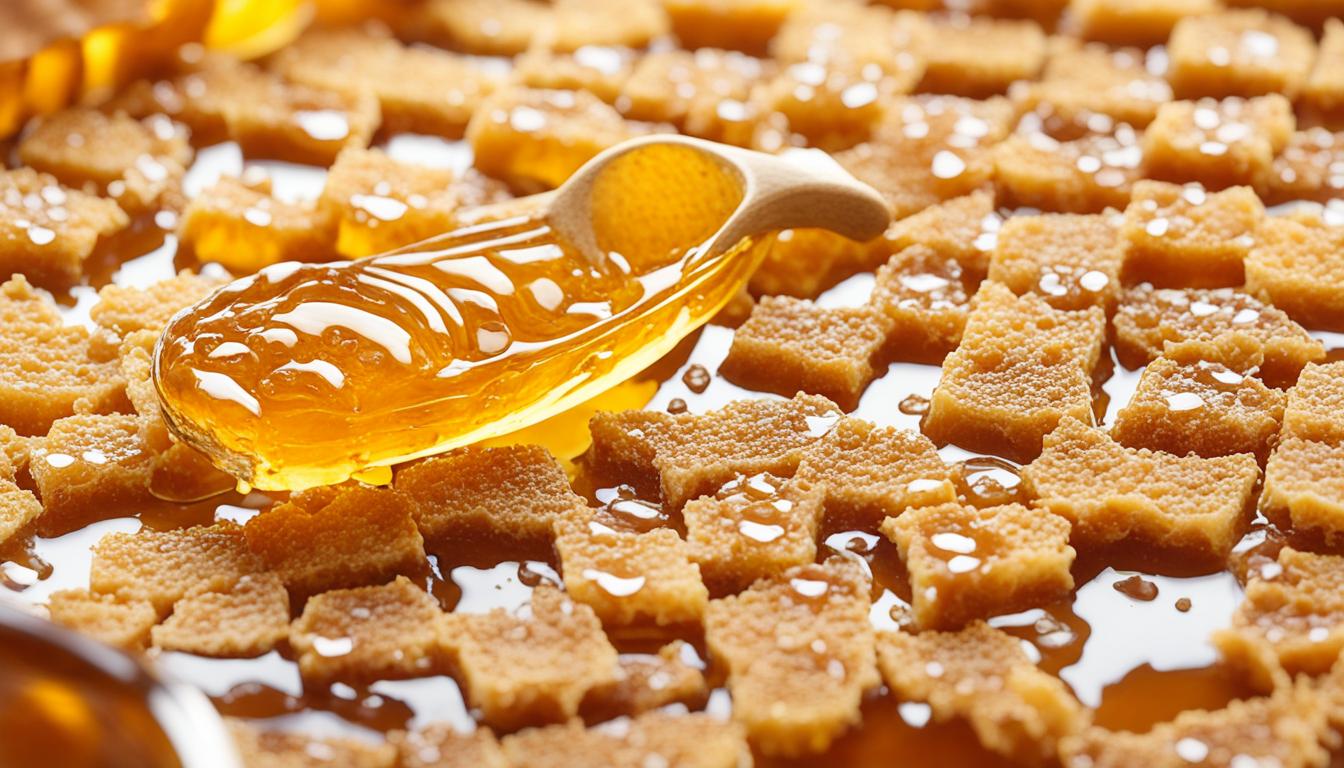
Making honeycomb candy at home is a simple and rewarding process. With just a few ingredients, including sugar, corn syrup, water, and baking soda, you can create a sweet and crunchy treat that is reminiscent of honeycomb with its signature bubbles.
This recipe is popular worldwide and goes by different names, such as honeycomb candy, sponge toffee, or cinder toffee. One of the best ways to enjoy homemade honeycomb is to dip or drizzle it with chocolate, adding an extra layer of decadence.
Are you looking for an easy honeycomb recipe that will satisfy your sweet cravings? Look no further! This homemade honeycomb is the perfect sweet treat for any occasion. The combination of a crisp and crunchy texture with a golden syrup flavor makes it irresistible to both kids and adults.
Whether you want to impress your guests or indulge in a guilty pleasure, this crunchy honeycomb recipe is sure to become a favorite in your household.
Honeycomb Recipe Ingredients
- 1 cup (200g) granulated sugar
- 1/4 cup (60ml) light corn syrup (or golden syrup)
- 1/4 cup (60ml) water
- 1 teaspoon baking soda
- 1 teaspoon vanilla extract (optional)
- Pinch of salt
Honeycomb Instructions
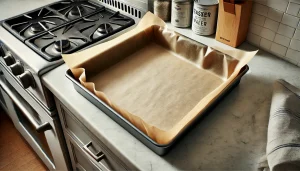
1. Line a baking pan (about 8×8 inches or similar) with parchment paper, ensuring it covers the bottom and sides. Lightly grease the parchment paper with cooking spray or oil.
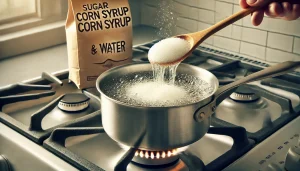
2. In a medium saucepan, combine the granulated sugar, light corn syrup, and water. Stir gently to combine the ingredients.

3. Place the saucepan over medium heat. Stir the mixture occasionally until the sugar has completely dissolved. Once dissolved, stop stirring and allow it to boil.
4. Use a candy thermometer to monitor the temperature. Allow the mixture to boil until it reaches a temperature of around 300°F (150°C) – this is referred to as the hard crack stage. This process typically takes about 8-10 minutes.
5. Once the mixture reaches 300°F, remove it from the heat. Quickly sprinkle in the baking soda and stir vigorously. Be careful, as the mixture will bubble up and become frothy. If using, add the vanilla extract and a pinch of salt.
6. Immediately pour the honeycomb mixture into the prepared baking pan. Do not spread it out or touch it too much; let it spread naturally.
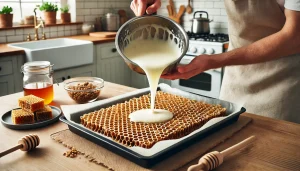
7. Allow the honeycomb to cool completely at room temperature for at least 1 hour. It will harden as it cools.

8. Once cooled and hardened, lift the honeycomb out of the pan using the parchment paper. Break it into desired pieces using your hands or a mallet.

9. Store the honeycomb in an airtight container at room temperature. It’s best enjoyed fresh but can last for a couple of weeks.
Enjoy making your honeycomb! Let me know if you have any other questions!
Tips for Making Perfect Honeycomb Candy
When making honeycomb candy, it’s important to follow a few key tips to ensure success. First, have all your ingredients and equipment ready before you start. Once the sugar syrup reaches 300°F, you’ll need to work quickly, so preparation is key. Avoid stirring the syrup once it starts boiling and instead let it cook undisturbed.
Keep in mind that making good candy takes time, so be patient and resist the temptation to turn up the heat.
Finally, remember that baking soda is essential for achieving the signature bubbles in honeycomb candy and cannot be substituted with baking powder.
“Preparing all the ingredients and equipment beforehand ensures a smooth and stress-free candy-making process.”
Here are some essential tips for making perfect honeycomb candy:
- Prepare all the ingredients and equipment before starting.
- Avoid stirring the syrup once it starts boiling.
- Let the syrup cook undisturbed until it reaches the desired temperature.
- Be patient and resist the temptation to turn up the heat.
- Use baking soda, not baking powder, to achieve the signature bubbles.
By following these tips, you’ll be well on your way to making delicious and professional-quality honeycomb candy.
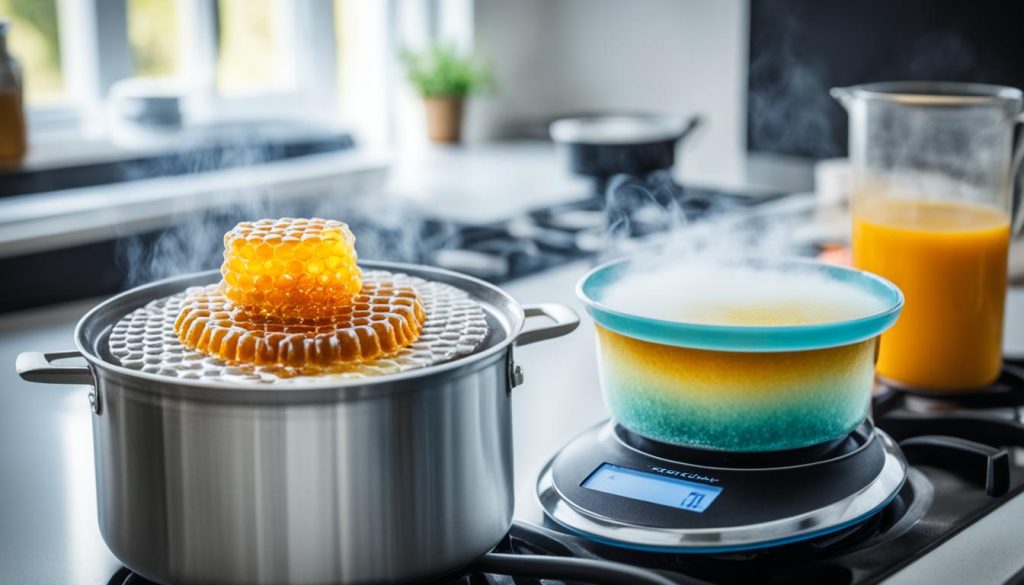
| Tips for Making Perfect Honeycomb Candy |
|---|
| Prepare all the ingredients and equipment before starting. |
| Avoid stirring the syrup once it starts boiling. |
| Let the syrup cook undisturbed until it reaches the desired temperature. |
| Be patient and resist the temptation to turn up the heat. |
| Use baking soda, not baking powder, to achieve the signature bubbles. |
How to Store and Enjoy Honeycomb Candy?
Storing and enjoying your honeycomb candy is essential to ensure its freshness and maximize your enjoyment. Here are some tips on how to store and savor this delightful treat:
Storing Honeycomb Candy
When it comes to storing honeycomb candy, proper air-tight packaging is key to preserving its texture and taste. Here’s how to do it:
- Allow the honeycomb candy to cool and harden completely.
- Break the candy into convenient-sized pieces.
- Place the pieces in an airtight container, such as a glass jar or a resealable plastic bag.
- Ensure the container is tightly sealed to prevent air from entering.
- Store the honeycomb candy at room temperature, away from direct sunlight and heat sources.
By following these storing instructions, your honeycomb candy can last up to one week and retain its delightful crunchiness.
How to Enjoy Honeycomb Candy?
Now that you have your perfectly stored honeycomb candy, it’s time to savor its sweet and crunchy goodness. Here are some ways to enjoy this delectable treat:
- As is: Break off a piece of honeycomb candy, and let it dissolve on your tongue. Experience the delightful combination of sugary sweetness and airy lightness.
- Dipped in chocolate: Take your honeycomb candy indulgence to the next level by dipping the pieces in melted chocolate. Whether it’s smooth milk chocolate or rich dark chocolate, the combination of flavors and textures is simply irresistible.
- Drizzled with chocolate: For a more elegant presentation, drizzle melted chocolate over the honeycomb candy pieces. The contrasting swirls of chocolate and the crunchy honeycomb create a visually stunning and delicious treat.
- Garnish for desserts: Use honeycomb candy as a creative and eye-catching garnish for cakes, cupcakes, ice cream, or any dessert that could use an extra touch of sweetness and crunch.
- Add-on to ice cream: Crumble honeycomb candy and sprinkle it over your favorite ice cream flavors. The combination of creamy goodness and crunchy honeycomb creates a heavenly dessert experience.
Now that you know how to store and enjoy your honeycomb candy, it’s time to indulge in this delectable treat. Whether you prefer it on its own or paired with chocolate or other desserts, honeycomb candy is sure to satisfy your sweet cravings.
| Storing Honeycomb Candy | How to Store | ||
|---|---|---|---|
| Steps | Tips | ||
| Allow the honeycomb candy to cool and harden completely. | Break the candy into convenient-sized pieces. | Place the pieces in an airtight container. | Ensure the container is tightly sealed. |
| Store at room temperature, away from direct sunlight and heat sources. | |||
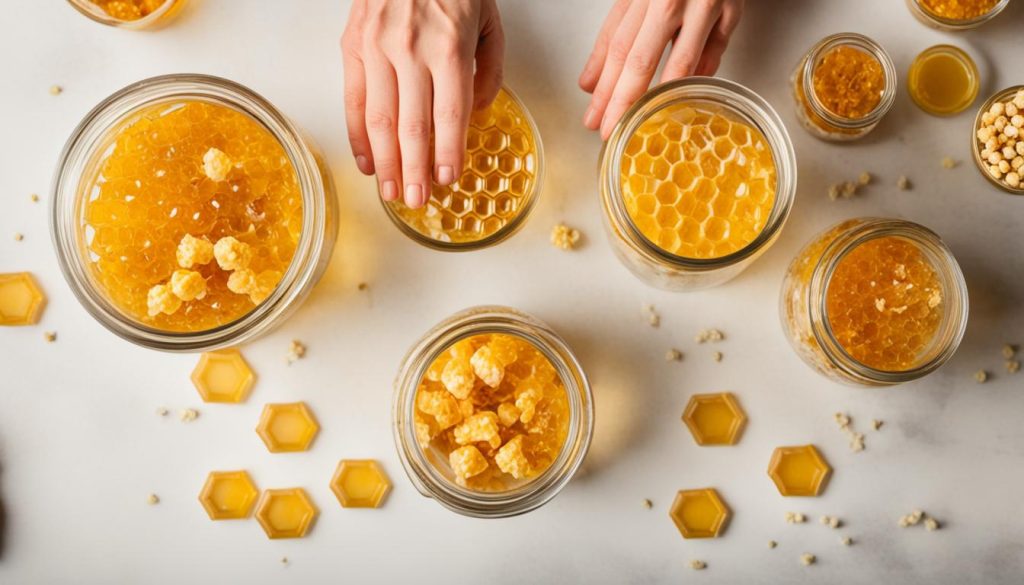
Enjoying honeycomb candy is a delightful experience that can be enhanced with various serving ideas and combinations. Experiment with different flavors and techniques to create your own unique honeycomb candy creations. Whether you’re indulging in it as a standalone treat or using it to elevate your desserts, honeycomb candy is a versatile and crowd-pleasing confectionery delight.
Variations and Serving Ideas
While the classic honeycomb recipe is delightful on its own, there are several variations and serving ideas you can explore. One popular variation is to make a homemade crunchie by coating the honeycomb candy in tempered bittersweet chocolate. This adds a rich and indulgent touch to the sweet and crunchy treat. Another idea is to incorporate honeycomb candy into ice cream, creating a hokey pokey flavor that is beloved in New Zealand.
You can also crush honeycomb candy and use it as a topping for various desserts, adding a delightful texture and flavor contrast. Don’t forget to sprinkle some sea salt flakes on the chocolate-coated honeycomb for an extra special touch.
| Honeycomb Candy Variation | Serving Idea |
|---|---|
| Homemade Crunchie | Coat honeycomb candy in tempered bittersweet chocolate to create a decadent and irresistible treat. |
| Hokey Pokey Ice Cream | Incorporate crushed honeycomb candy into ice cream for a delightful hokey pokey flavor. |
| Topping for Desserts | Crush honeycomb candy and use it as a topping for various desserts to add texture and flavor. |
Conclusion
Making your own honeycomb candy at home is a delightful and satisfying experience. With just a few ingredients and a bit of patience, you can create a tantalizingly sweet and crunchy treat that is sure to please your taste buds.
Whether enjoyed on its own, dipped in luscious chocolate, or used as a delightful garnish for desserts, honeycomb candy is a surefire way to indulge in homemade sweet treats.
By exploring different variations and serving ideas, you can elevate your honeycomb experience. Consider coating the honeycomb in tempered bittersweet chocolate to create a homemade crunchie or incorporating it into ice cream for a delicious hokey pokey flavor.
For added texture and flavor contrast, crush honeycomb candy and use it as a topping for various desserts. And don’t forget to sprinkle a touch of sea salt flakes on your chocolate-coated honeycomb for an extra special touch.
So why not give this easy honeycomb recipe a try? With its irresistibly crunchy texture and delectable sweetness, homemade honeycomb is the perfect sweet treat for any occasion. Get creative with your honeycomb candy variations, and let your taste buds embark on a delightful journey of flavors. Indulge in the joy of creating your own crunchy honeycomb and enjoy the rewards of homemade sweetness.
FAQs
How should I store and enjoy honeycomb candy?
Honeycomb candy can be stored at room temperature in an airtight container for up to one week. However, it may become sticky over time, especially in humid environments. Avoid refrigerating honeycomb as this can affect its texture.
To enjoy honeycomb candy, simply break it into pieces after it has cooled and hardened. You can enjoy it as is or dip it in chocolate. Honeycomb candy also makes a great garnish for desserts or a delicious addition to ice cream.
Are there any variations or serving ideas for honeycomb candy?
Yes! You can create a homemade crunchie by coating honeycomb candy in tempered bittersweet chocolate. Another idea is to incorporate honeycomb candy into ice cream, creating a hokey pokey flavor.
You can also crush honeycomb candy and use it as a topping for desserts, adding a delightful texture and flavor contrast. Sprinkling sea salt flakes on chocolate-coated honeycomb adds an extra special touch.
Why should I try this easy honeycomb recipe?
This easy honeycomb recipe allows you to create homemade sweet treats that are crunchy and delicious. With just a few ingredients and some patience, you can enjoy the satisfaction of making your own honeycomb candy. Explore different variations and serving ideas to customize your honeycomb experience.
Easy Honeycomb Recipe
Ingredients
- 1 cup 200g granulated sugar
- 1/4 cup 60ml light corn syrup (or golden syrup)
- 1/4 cup 60ml water
- 1 teaspoon baking soda
- 1 teaspoon vanilla extract optional
- Pinch of salt
Instructions
- Line a baking pan (about 8x8 inches or similar) with parchment paper, ensuring it covers the bottom and sides. Lightly grease the parchment paper with cooking spray or oil.
- In a medium saucepan, combine the granulated sugar, light corn syrup, and water. Stir gently to combine the ingredients.
- Place the saucepan over medium heat. Stir the mixture occasionally until the sugar has completely dissolved. Once dissolved, stop stirring and allow it to boil.
- Use a candy thermometer to monitor the temperature. Allow the mixture to boil until it reaches a temperature of around 300°F (150°C) – this is referred to as the hard crack stage. This process typically takes about 8-10 minutes.
- Once the mixture reaches 300°F, remove it from the heat. Quickly sprinkle in the baking soda and stir vigorously. Be careful, as the mixture will bubble up and become frothy. If using, add the vanilla extract and a pinch of salt.
- Immediately pour the honeycomb mixture into the prepared baking pan. Do not spread it out or touch it too much; let it spread naturally.
- Allow the honeycomb to cool completely at room temperature for at least 1 hour. It will harden as it cools.
- Once cooled and hardened, lift the honeycomb out of the pan using the parchment paper. Break it into desired pieces using your hands or a mallet.
- Store the honeycomb in an airtight container at room temperature. It’s best enjoyed fresh but can last for a couple of weeks.


